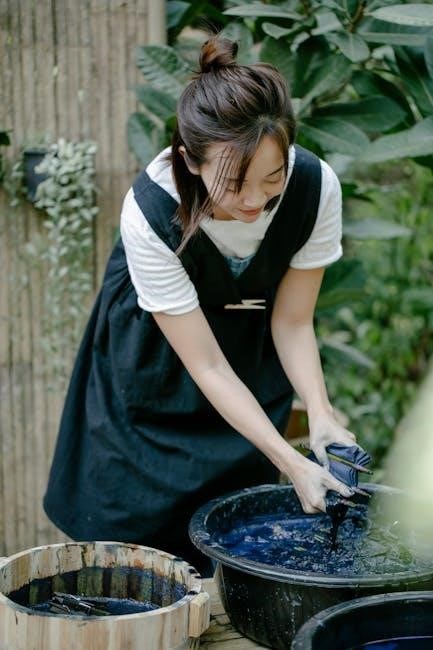
Dylon Hand Dye presents a convenient solution for dyeing smaller, delicate items unsuitable for machine use, offering diverse colors and ease of application.
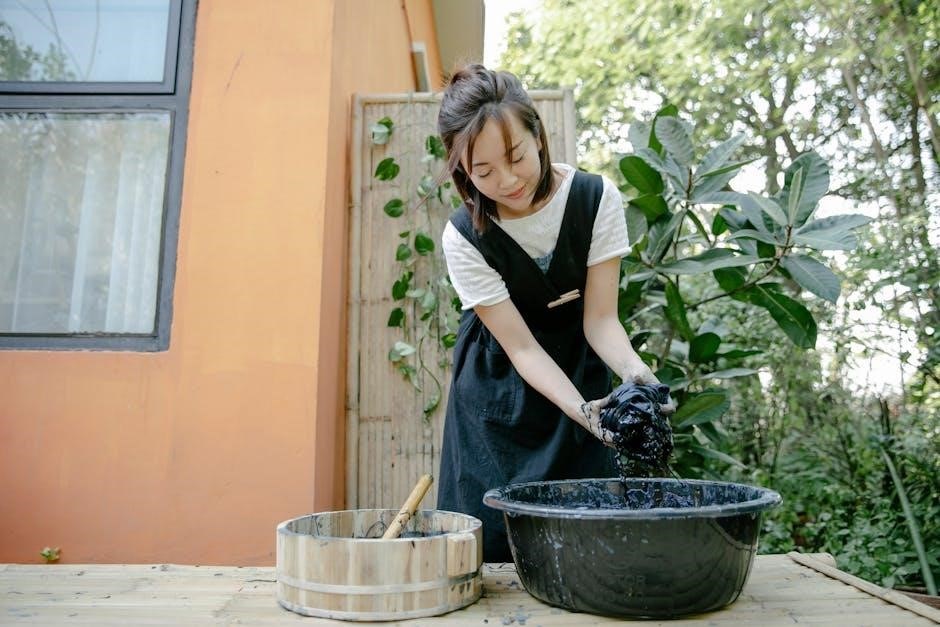
This method bypasses the need for a washing machine, delivering professional results without specialized equipment, ideal for those seeking a manual dyeing experience.
What is Dylon Hand Dye?
Dylon Hand Dye is a fiber-reactive dye specifically formulated for dyeing fabrics by hand, offering a vibrant and lasting color transformation. Unlike machine dyes, it’s perfect for smaller projects, delicate materials, or when a washing machine isn’t accessible.
It comes in powder form within convenient packs, allowing for precise color control and customization. This dye excels at coloring items like vests and delicates, providing a wide spectrum of shades. It’s a popular choice due to its simplicity and effectiveness, delivering professional-looking results with careful application.
Benefits of Hand Dyeing
Hand dyeing with Dylon offers unique creative control, allowing for personalized color palettes and techniques unattainable with machine dyeing. It’s cost-effective for smaller batches, eliminating the need to fill a washing machine. This method is ideal for reviving faded garments or customizing existing fabrics.
Furthermore, hand dyeing is gentler on delicate materials, minimizing the risk of damage. It provides a fulfilling, hands-on experience, fostering creativity and allowing for experimentation with various effects, like ombre or tie-dye, resulting in truly one-of-a-kind pieces.
Preparing for the Dyeing Process
Successful dyeing hinges on proper preparation! Weigh your fabric, wash it thoroughly, and gather necessary supplies to ensure optimal dye absorption and vibrant results.
Fabric Selection & Suitability
Dylon Hand Dye excels with natural fibers like cotton, linen, silk, and wool, achieving brilliant, lasting color. Synthetic fabrics often yield unpredictable results, so testing a swatch is crucial.
Pure cotton, such as cargo trousers, responds exceptionally well, allowing for deep, rich shades like navy or black. Ensure the fabric is clean and free of finishes that could impede dye uptake.
Delicate items, or those unsuitable for machine washing, are perfect candidates for this hand-dyeing method, offering a gentle and controlled process.
Calculating Dye Quantity
Dylon Hand Dye packs are typically designed for 500g of fabric, but adjusting the quantity is vital for optimal results. For deeper shades, or heavier fabrics, using multiple dye packs is recommended.
To dye 100% cotton cargo trousers, three dye packs – two navy and one black – can be utilized for a deep navy/black hue. Always weigh the dry fabric accurately before starting.
Carefully follow the package instructions regarding dye-to-water ratios to ensure even color distribution and prevent wasted dye.
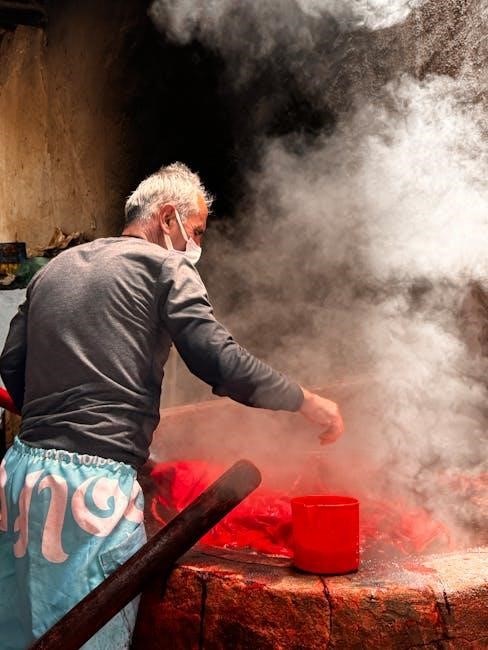
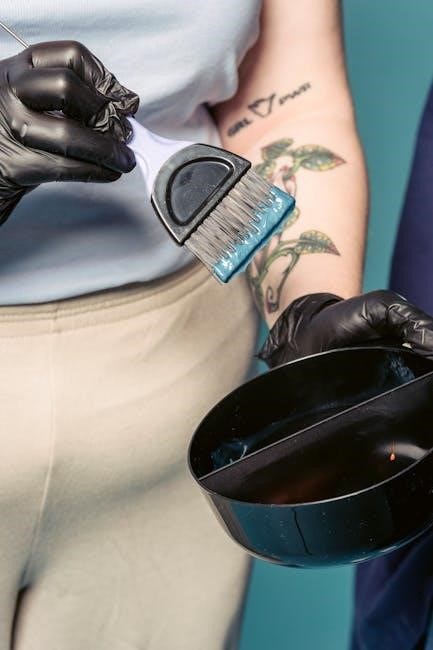
Essential Safety Precautions
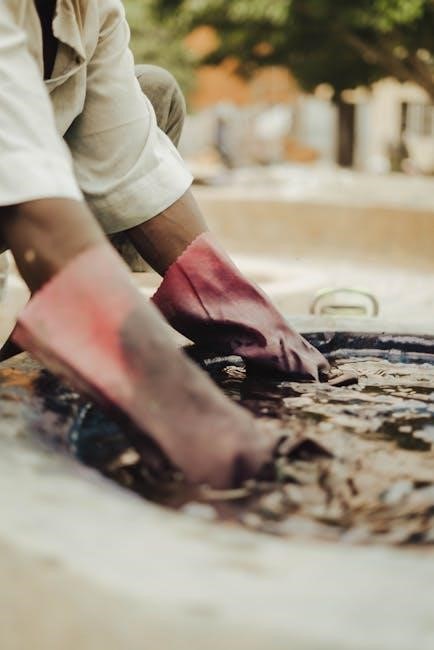
Dylon Hand Dye involves handling chemicals; therefore, prioritizing safety is crucial. Always wear gloves to protect your skin from dye absorption and potential irritation;
Work in a well-ventilated area to avoid inhaling dye powder or fumes. Protect your work surface with plastic sheeting or old newspapers to prevent staining.
Avoid contact with eyes – if contact occurs, rinse immediately with plenty of water. Keep dye packs out of reach of children and pets.
Materials You’ll Need
Successful Dylon Hand Dye projects require dye packs, buckets, gloves, detergent, salt, and soda ash for preparation and achieving vibrant, lasting color.
Dylon Hand Dye Pack Contents
Each Dylon Hand Dye pack typically includes a measured amount of dye powder, sufficient for dyeing up to 250g of fabric, ensuring vibrant and consistent color results.
Alongside the dye powder, you’ll find a comprehensive instruction leaflet detailing the entire dyeing process, from fabric preparation to rinsing and aftercare.
Some packs may also contain a small sachet of fixative, enhancing colorfastness and preventing dye bleed during subsequent washes, prolonging the life of your dyed item.
Carefully review the pack contents before starting to ensure you have everything needed for a successful dyeing experience.
Necessary Equipment (Buckets, Gloves, etc.)
For successful Dylon Hand Dyeing, you’ll require several essential tools. A large bucket or container is crucial for creating and maintaining the dye bath, allowing ample space for fabric immersion.
Protective gloves are non-negotiable, safeguarding your hands from dye staining and potential skin irritation.
A stirring utensil, like a wooden spoon or plastic rod, ensures even dye distribution throughout the water.
Old towels and plastic sheeting protect your work surface from spills and splashes, simplifying cleanup.
A weighing scale is also helpful for accurate dye quantity calculations.
Pre-Treatment Supplies (Detergent, Salt, Soda Ash)
Proper fabric preparation is vital for optimal dye absorption. A mild detergent is needed for an initial wash, removing any finishes or oils that could hinder the dyeing process.
Common salt plays a crucial role, aiding dye penetration and promoting even color distribution, particularly with direct dyes.
Soda ash (sodium carbonate) acts as a fixative, enhancing colorfastness and ensuring the dye bonds effectively with the fabric fibers.
These pre-treatment supplies are essential for vibrant, long-lasting results.
Step-by-Step Dyeing Instructions
Begin by washing the fabric, then dissolve the dye powder in water. Create a dye bath, immerse the fabric, and stir consistently for even coloring.
Washing the Fabric
Before dyeing, thoroughly wash your fabric to remove any finishes or sizing that could hinder dye absorption. Use a mild detergent and warm water, ensuring the fabric is completely clean.
Rinse until the water runs clear, indicating all detergent residue has been eliminated. Do not use fabric softener, as it creates a barrier preventing the dye from properly bonding with the fibers.
The fabric should be damp, not soaking wet, when you proceed to the next step – dissolving the dye powder. This pre-washing step is crucial for achieving vibrant and lasting color.
Dissolving the Dye Powder
Begin by dissolving the Dylon Hand Dye powder in approximately 500ml of warm water. Stir vigorously to ensure the powder completely disperses, eliminating any clumps. A smooth, consistent solution is essential for even color distribution.
Continue stirring until the dye is fully dissolved, creating a concentrated dye liquid. This step is vital; undissolved powder can lead to patchy or uneven dyeing results.
Once dissolved, set the dye solution aside, ready to be added to the larger dye bath.
Creating the Dye Bath
In a large bucket or container, add 6 liters of warm water. Then, introduce 250g of table salt to the water and stir thoroughly until completely dissolved – salt enhances dye uptake for cotton fabrics.
Next, pour in the previously dissolved dye solution, ensuring it mixes evenly throughout the water. Stir well to create a homogenous dye bath.
The dye bath is now prepared, ready to receive the fabric for immersion and color transformation.
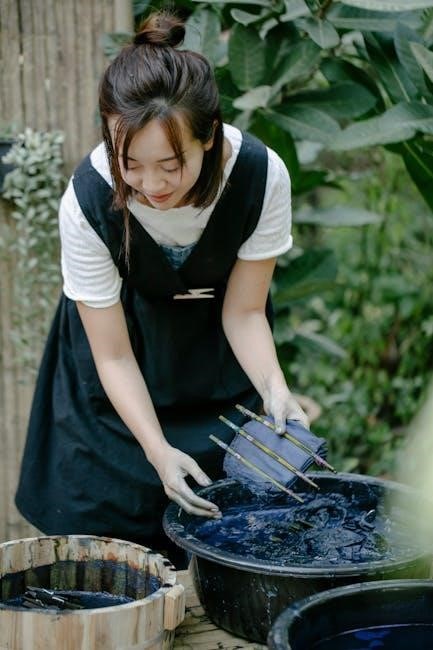
Immersing the Fabric
Gently submerge the pre-wetted fabric into the prepared dye bath, ensuring it’s fully covered. Avoid overcrowding the container; the fabric needs ample space to move freely for even dye penetration.
Use a clean stirring implement (spoon or stick) to gently push the fabric down and ensure all areas are saturated with the dye solution.
Complete immersion is crucial for uniform color distribution throughout the entire garment or textile.
Stirring and Maintaining Dye Contact
Continuously stir the fabric within the dye bath for the first 15-20 minutes, then intermittently for the next 30-45 minutes, ensuring even dye absorption.
Consistent agitation prevents dye settling and promotes uniform color distribution throughout the material, avoiding patchy or uneven results.
Maintain consistent contact for the recommended time (typically one to two hours) to achieve the desired color intensity.
Dyeing Techniques
Explore diverse methods like achieving uniform color, creating stunning ombre effects, or experimenting with tie-dyeing for unique, personalized fabric designs using Dylon Hand Dye.
Achieving Uniform Color
Consistent stirring is paramount for uniform color distribution when using Dylon Hand Dye. Gently agitate the fabric continuously throughout the dyeing process – approximately 45-60 minutes – ensuring the dye penetrates evenly.
Avoid clumping by initially dissolving the dye powder thoroughly in warm water before adding it to the dye bath.
Submerge the fabric completely, and manipulate it frequently to prevent uneven patches.
Proper agitation guarantees a consistent, vibrant hue across the entire material.
Creating Ombre Effects
Achieving a gradual color fade with Dylon Hand Dye requires a controlled immersion technique. Partially submerge the fabric into the dye bath, holding it at an angle.
Gradually lower more of the fabric over time, allowing the dye to penetrate further up the material.
For a defined ombre, maintain a consistent speed during immersion.
Periodically lift and assess the color development, adjusting the immersion rate as needed to create the desired gradient.
This method yields stunning, blended color transitions.
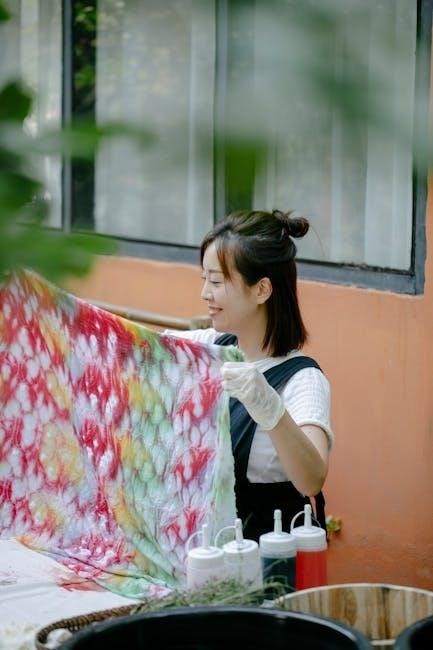
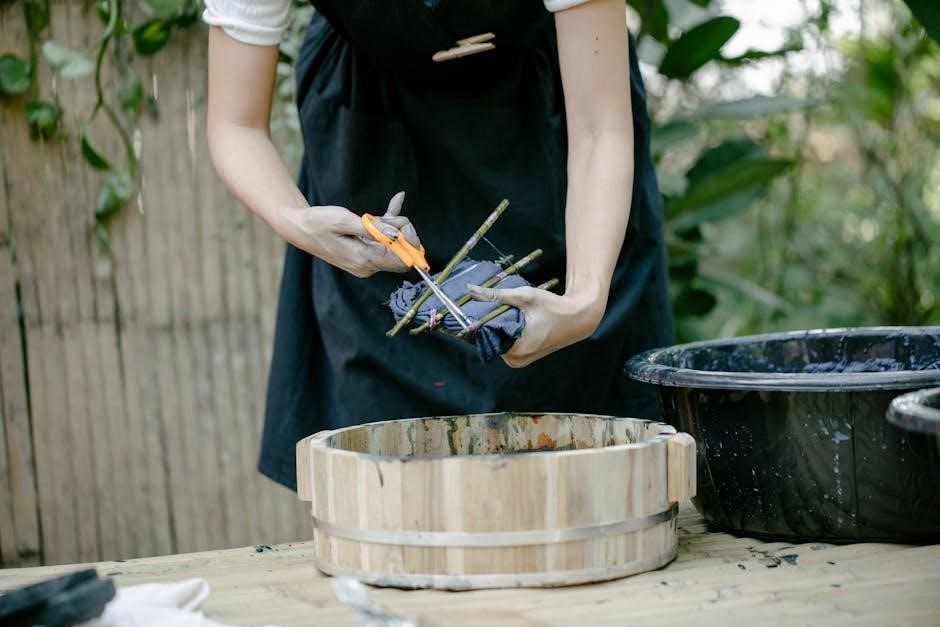
Tie-Dyeing with Dylon Hand Dye
Tie-dyeing with Dylon unlocks vibrant, personalized designs. Begin by twisting, folding, or scrunching the fabric, securing it tightly with rubber bands or string.
Apply the dye directly onto the bound fabric, saturating the exposed areas.
For multiple colors, carefully apply each dye to separate sections, avoiding blending during application.
Allow sufficient dye contact time, then rinse thoroughly to reveal your unique pattern.
Experiment with different tying techniques for diverse effects!
Rinsing and Washing After Dyeing
Rinsing removes excess dye, starting with cool water until clear, followed by a gentle wash with mild detergent to ensure colorfastness.
Initial Rinse – Removing Excess Dye
Begin the rinsing process with cool water, gently agitating the dyed fabric to release unbound dye particles. Continue rinsing until the water runs almost completely clear, indicating most of the excess dye has been removed.
Avoid hot water during this stage, as it can potentially set unfixed dye and lead to uneven color or bleeding. This initial rinse is crucial for preventing dye transfer during subsequent washing and wearing of the dyed item. Patience is key – thorough rinsing is essential for a lasting, vibrant result.
Washing with Mild Detergent
After the initial rinse, wash the dyed fabric in cool water using a mild, pH-neutral detergent. Harsh detergents can strip the dye, causing fading or color alteration. A gentle cycle is recommended to minimize agitation and potential dye loss.
Avoid washing the dyed item with other clothes during this first wash to prevent any accidental color transfer. This step helps to further secure the dye within the fabric fibers, enhancing colorfastness and ensuring a long-lasting, vibrant finish.
Subsequent Rinses – Ensuring Colorfastness
Following the mild detergent wash, continue rinsing the dyed fabric in cool water until the water runs completely clear. This crucial step removes any remaining loose dye particles, significantly improving colorfastness and preventing future bleeding or staining.
Multiple rinses are often necessary, especially with brighter or more saturated colors. Patience is key – thorough rinsing guarantees a vibrant, long-lasting result and protects other garments from accidental dye transfer during subsequent washes.
Drying and Finishing
After rinsing, gently remove excess water. Line drying is preferred to minimize potential fading, while tumble drying on low heat is acceptable if needed.
Drying Methods (Line Drying vs. Tumble Drying)
Choosing the right drying method significantly impacts color vibrancy and fabric longevity. Line drying, ideally in a shaded area, is highly recommended for dyed fabrics as it minimizes exposure to direct sunlight, preventing potential fading.
If a tumble dryer is necessary, utilize a low heat setting. High temperatures can cause colors to bleed or diminish. Consider adding dryer sheets designed for color retention. Always check for complete dryness before ironing, as residual moisture can affect the final finish.
Ironing Dyed Fabric
Ironing after dyeing sets the color and restores the fabric’s original texture. Before ironing, ensure the fabric is completely dry to prevent color bleeding or damage. Use a medium heat setting, and consider ironing the item inside out, especially for darker or more vibrant shades.
A pressing cloth can provide an extra layer of protection, safeguarding the dyed color from direct heat. Avoid steam initially, testing a small, inconspicuous area first to confirm colorfastness.
Troubleshooting Common Issues
Addressing problems like uneven color, fading, or unexpected shades requires careful attention. Ensure proper dye dissolution, sufficient stirring, and thorough rinsing for optimal results.
Uneven Color Distribution
Achieving consistent color with Dylon Hand Dye demands meticulous attention to detail. Insufficient stirring during the dyeing process is a primary culprit, preventing the dye from penetrating fabric fibers uniformly.
Ensure complete dye dissolution in water before introducing the fabric, and consistently agitate the dye bath throughout the recommended duration.
Fabric bunching or inadequate submersion also contributes to patchy results; fully immerse and gently manipulate the material. Consider pre-treating the fabric to enhance dye uptake, especially with synthetic blends.
Fading or Bleeding
Color loss after dyeing with Dylon Hand Dye often stems from inadequate dye fixation or improper post-dyeing care. Insufficient rinsing removes excess dye, leading to subsequent bleeding during washing.
Always follow the recommended rinsing steps, continuing until the water runs clear. Utilize a mild detergent specifically designed for colored fabrics during the initial wash.
Avoid harsh detergents or prolonged sun exposure, as these accelerate fading. Consider a color fixative to enhance dye permanence, particularly for vibrant shades.
Color Not as Expected
Discrepancies between the dye packet’s shade and the final result can occur due to several factors. Fabric type significantly impacts color uptake; different fibers absorb dye differently.
Pre-existing finishes or treatments on the fabric can also interfere with dye absorption. Inaccurate dye quantity calculations or insufficient stirring during the dyeing process contribute to uneven or muted colors.
Always test a small swatch first to preview the outcome. Remember that screen representations of dye colors are approximate; actual shades may vary.
Dyeing Different Fabric Types
Dylon Hand Dye works best on natural fibers, but results vary. Specific guides for cotton, silk, and wool ensure optimal color absorption and lasting vibrancy.
Cotton Dyeing Guide
Cotton readily accepts Dylon Hand Dye, but preparation is key. Always wash the fabric to remove sizing, then weigh it to determine dye quantity. Dissolve the dye powder in a small amount of hot water, ensuring no granules remain.
Create a dye bath with warm water, salt (approximately 250g per 6 liters), and the dissolved dye. Fully immerse the cotton, stirring constantly for the first 15-20 minutes, then periodically for up to an hour.
Rinse thoroughly with cool water until the water runs clear, then wash with a mild detergent before final rinsing.
Silk Dyeing Guide
Silk requires a gentler approach with Dylon Hand Dye; Begin by washing the silk in cool water, avoiding harsh detergents; Weigh the fabric to calculate dye needs, and dissolve the dye powder in a minimal amount of hot water.
Prepare a dye bath with warm water and soda ash (around 250g per 6 liters) instead of salt, crucial for silk’s protein structure. Immerse the silk, stirring gently but consistently for 30-45 minutes.
Rinse carefully with cool water, then wash with a silk-specific detergent.
Wool Dyeing Guide
Wool, like silk, benefits from a careful dyeing process using Dylon Hand Dye. Pre-wash the wool in lukewarm water, avoiding agitation to prevent felting. Calculate dye quantity based on fabric weight, dissolving the powder in hot water initially.
Create a dye bath with warm water and soda ash (approximately 250g per 6 liters), essential for wool’s protein fibers. Gently immerse the wool, stirring frequently for 30-45 minutes.
Rinse thoroughly in cool water, then wash with a wool-specific detergent.
Using Multiple Dye Colors
Dylon allows layering colors for unique effects or mixing them directly in the dye bath to create custom shades, expanding creative possibilities.
Layering Colors for Unique Effects
Dylon Hand Dye truly shines when exploring layered color applications. Begin by dyeing your fabric with the lightest shade, ensuring it’s thoroughly rinsed and partially dried before proceeding. This prevents muddying of colors. Subsequently, apply a second color, focusing on specific areas or creating gradients.
Consider using resist techniques – like tying or folding – to isolate sections and prevent color bleed. Multiple layers build depth and complexity, yielding truly one-of-a-kind results. Remember to allow sufficient drying time between each application for optimal color separation and vibrancy.
Mixing Dye Colors in the Bath
Dylon Hand Dye allows for exciting color customization by mixing dyes directly within the dye bath. Start with your desired base color, dissolving the powder completely in warm water. Then, gradually add small amounts of the secondary color, stirring continuously to observe the evolving hue.
Record your ratios for future replication! Be cautious – mixing complementary colors can result in browns or grays. Experimentation is key, but always test a small sample first to ensure the final shade meets your expectations before immersing the entire fabric.
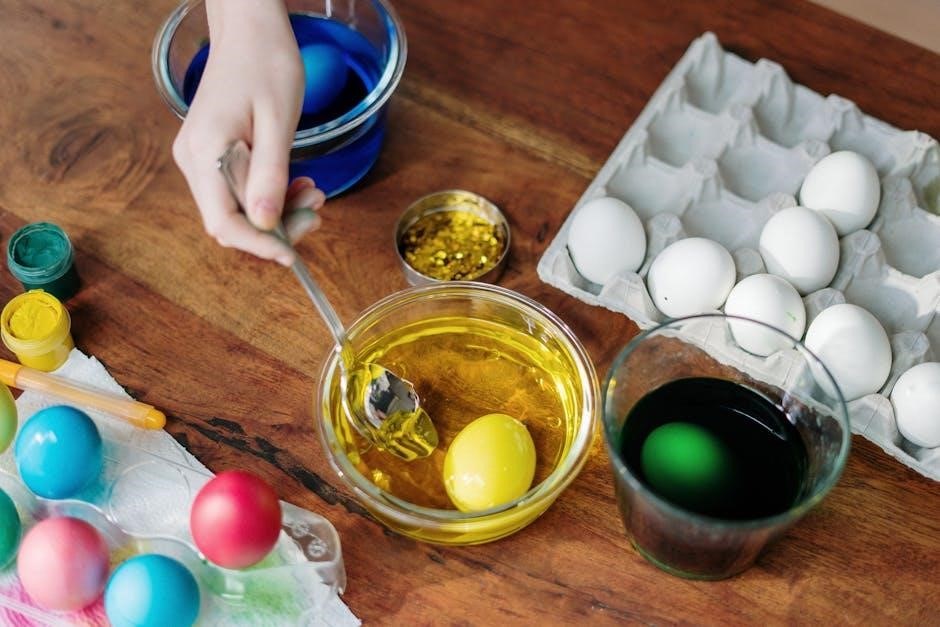
Dylon Dye Color Range Overview
Dylon offers a vast spectrum of colors, from vibrant primaries to subtle pastels, enabling creative expression. Understanding color mixing unlocks limitless possibilities for unique shades!
Popular Color Choices
Dylon’s color range boasts consistently popular choices for revitalizing wardrobes and crafting unique pieces. Navy blue and black consistently rank high, offering timeless depth and versatility for various fabrics.
Peony pink provides a vibrant, cheerful option, while turquoise and other jewel tones inject a bold statement into any project. Many crafters also favor classic reds and yellows for their brightness.
Experimenting with these hues, or blending them, allows for personalized results, catering to individual style preferences and project requirements.
Understanding Color Mixing
Dylon dyes allow for exciting color mixing possibilities, enabling custom shades beyond the standard palette. Combining primary colors – red, yellow, and blue – creates secondary hues like orange, green, and purple.
Layering colors can produce nuanced tones; for instance, adding black to red yields burgundy, while a touch of yellow brightens it to coral.
Always test mixtures on scrap fabric first to predict the final result, as dye interactions can vary. Careful mixing unlocks a world of creative potential.
Long-Term Care of Dyed Fabrics
Dyed items require gentle washing in cool water with mild detergent to preserve color vibrancy and prevent bleeding, ensuring lasting beauty.
Washing Instructions for Dyed Items
To maintain the vibrancy of your Dylon-dyed fabrics, always wash them separately for the first few washes, especially with cold water and a mild detergent.
Avoid harsh chemicals like bleach, as these can strip the color. A gentle cycle is recommended, and turning garments inside out helps protect the dyed surface.
Lower water temperatures minimize dye release, preventing color transfer to other clothes. Consider using a color-catching sheet during washing for added protection against potential bleeding.
Air drying is preferable to machine drying, as heat can also cause fading.
Preventing Color Run
Minimize color run by thoroughly rinsing your Dylon-dyed fabric until the water runs clear after dyeing; During initial washes, include a color-catcher sheet to absorb any released dye molecules.
Wash dyed items separately or with similar colors to avoid staining lighter garments. Use cold water and a mild detergent, avoiding bleach or harsh chemicals.
Consider a vinegar soak (one cup of white vinegar per gallon of water) before the first wash to help set the dye and reduce bleeding. Always test for colorfastness first!